

Level Up Your Art with Alcohol Markers: Pro Tips for Professional Results
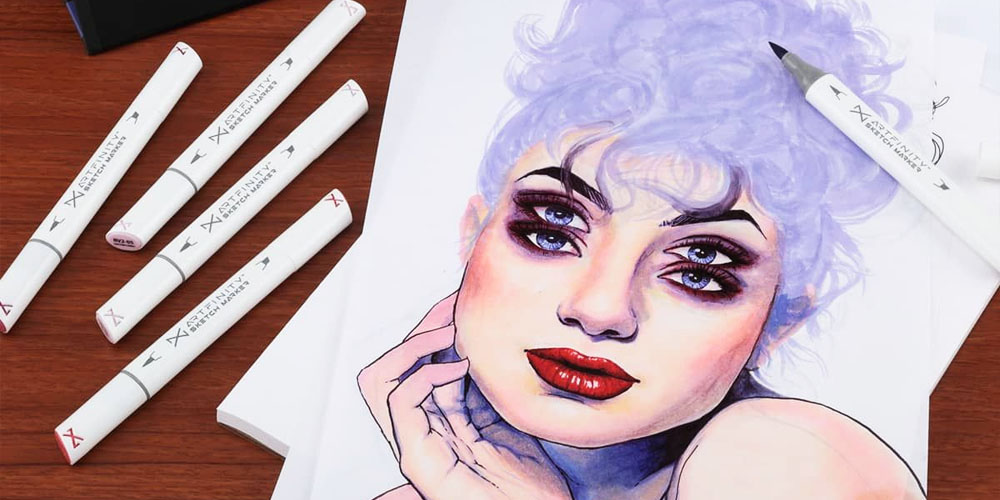
Alcohol Markers are beloved by artists for their vibrant colors and ability to achieve professional-quality results. Whether you’re a beginner or an experienced artist, this article will provide you with essential techniques, pro tips, and inspiration to enhance your alcohol marker artistry.
Understanding Alcohol Markers:
Alcohol markers are an exceptional art tool that offers unique advantages. They are composed of alcohol-based ink and come in a range of vibrant colors.
Unlike water-based markers, alcohol markers provide smooth blending and quick drying, allowing for seamless color transitions and layering.
Tips and Techniques Using Alcohol Markers:
Color blending: One of the fundamental techniques with alcohol markers is blending. Start by selecting two or more colors that you want to blend. Ideally, your colors will be slightly similar in value or hue. If you want to blend two different hues, like a dark blue and a yellow, try finding a marker that falls between them on the color wheel, such as a mid-value green. This will help dramatically different colors have a smoother transition.
Let’s say you apply the yellow first. Use fast strokes on the paper. Then, take the green and start by overlapping the edge of the yellow, keeping light pressure when you first start to overlap, blending the two together. It is best to overlap the colors quickly, while the marks are still wet, to avoid sharp lines where the colors blend together.
The same is true for creating smooth washes of color; work quickly, and avoid picking up the marker until the whole wash is done. Use the same technique to overlap the green with your blue, and your gradient is done!
Practice blending different color combinations to achieve smooth and vibrant gradients.
Layering: Layering is an essential technique to create depth and richness in your artwork. Begin by laying down a base of color. Allow it to dry completely before adding additional layers. Alcohol markers tend to dry slightly lighter than when they were first laid down.
Try using one marker to create several different values. With each layer, the colors will intensify and darken. See how dark one marker’s value can be before transitioning to a darker value marker. Always work light to dark with alcohol markers, it is possible to add more value on top, but it is very difficult to take it away.
Experiment with different layering techniques, such as varying pressure or using flicking motions, to achieve interesting effects and textures.
Feathering: Feathering is a delicate technique that allows you to create soft, feathery strokes. To achieve this effect, hold the marker at a low angle and lightly touch the tip of the marker to the paper. Use swift and gentle strokes to create thin lines or wispy textures. Feathering is particularly useful for creating fur, hair, or delicate botanical details. It can also be used as a blending technique to create smooth gradients, by using small wispy strokes, rather than blocks or lines of color
Creating fine details
When working with alcohol markers, it is best to create large washes first before drawing small details. If a wash of color is layered over small details the alcohol can reactivate the details below it and cause them to bleed and blur. More saturated washes have a higher risk of causing bleeding.
Use gentle pressure when creating details to prevent blurred edges.
Incorporating mixed media
Speaking of adding details, alcohol markers work wonderfully in combination with other art mediums. Consider integrating colored pencils, ink pens, or gel pens over your artwork to add fine details, texture, or intricate linework.
The alcohol markers will provide a vibrant base, while the additional mediums can enhance specific areas or add extra depth. Experiment with different combinations to find a mixed media approach that suits your style and amplifies your artistic expression.
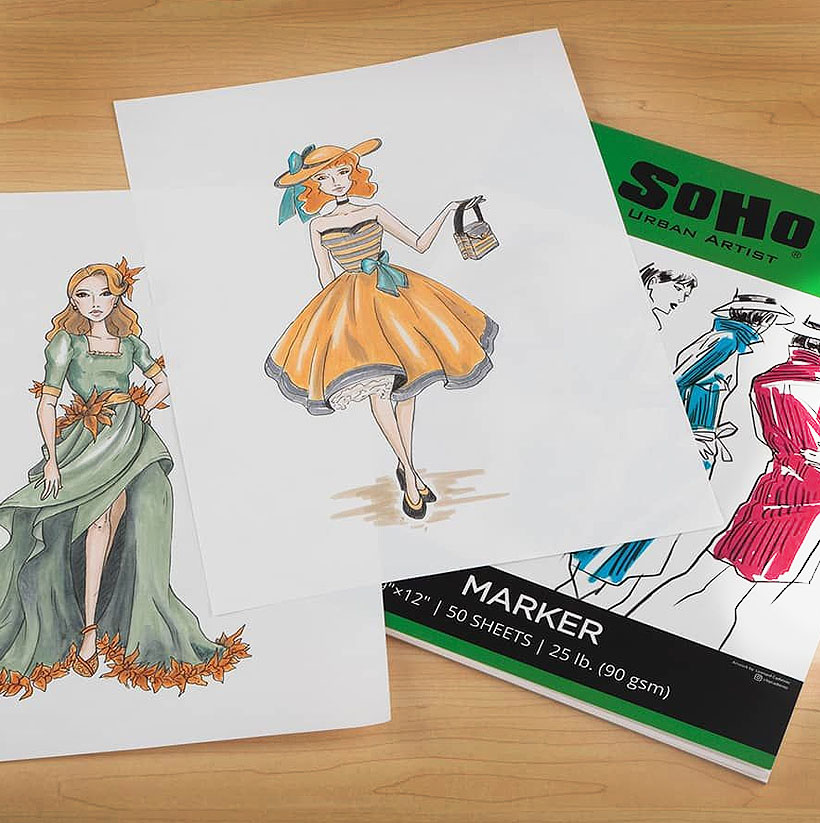
Choosing the right paper
Opt for alcohol marker-friendly paper that prevents bleeding and provides optimal blending capabilities. Paper not created for alcohol markers, such as bristol or watercolor paper, will absorb the markers rather than letting them sit on top. This will lead to duller colors and the possibility of grainy, spotty texture where the paper becomes too saturated.
We suggest: SoHo Marker Paper Pads
Caring for your markers
Keep your art markers organized and create a clean and comfortable working environment. Proper storage and maintenance will help extend the lifespan of your markers. Store them horizontally with their caps tightly secured. This position helps prevent the ink from settling unevenly and maintains consistent ink flow. Keep your markers away from direct sunlight or extreme temperatures to prevent drying out or damage to the ink.
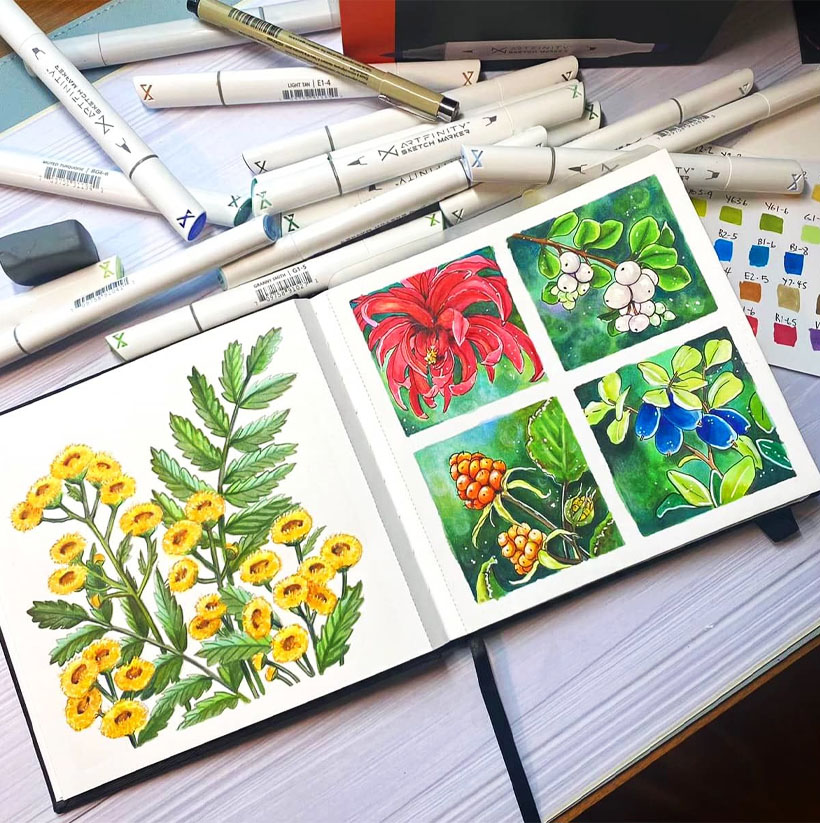
Try organizing your markers based on their designated color codes. Different brands of alcohol markers will have a different coding system that will tell you if the colors are similar in terms of hue and value. Knowing how your brand’s system works can help you work faster and more effectively when blending.
Here is an example of Artfinity’s color coding system:
Experimenting with different brands
Explore various alcohol marker brands to find those that suit your style and preferences. Some popular brands that exist are Copic Markers, Tombow, and Artfinity Markers.
Remember, mastering these techniques requires practice and experimentation. Take the time to explore different color combinations, drawing techniques, and subject matters. Embrace the versatility of alcohol markers and use them as a tool to express your unique artistic vision.
Frequently Asked Questions and Answers
Can alcohol markers be refilled?
Yes, many alcohol markers have refillable ink cartridges or can be used with ink refills. Refilling your markers not only helps reduce waste but also ensures that you always have a fresh supply of ink. Check the manufacturer’s instructions or website for specific information on refilling your markers.
See our video on: How to Refill Artfinity Markers
Are alcohol markers compatible with other art supplies?
Alcohol markers are compatible with various art supplies, including colored pencils, watercolor paints, and gel pens. Combining different mediums can create unique effects and add depth to your artwork. Keep in mind that some papers may work better with alcohol markers than others, so it’s advisable to test the compatibility before starting a project.
How do I prevent alcohol markers from bleeding through the paper?
To minimize bleed-through, it’s crucial to use high-quality, thick paper specifically designed for alcohol markers. Look for papers labeled as “marker paper” or “bleed-proof” to ensure optimal results. Additionally, placing a scrap sheet of paper underneath your working surface can help absorb excess ink and prevent bleed-through.
How do I preserve my artwork?
All alcohol markers are inherently fugitive. This means that the colors will fade with time and when exposed to conditions, such as sunlight. Keep finished artwork out of direct sunlight or try spraying your artwork with a UV protective spray varnish. If you want to preserve your artwork, try creating archival giclee prints that will keep their colors intensity much longer than the finished alcohol marker piece.
Remember, these are general answers, and specific product instructions may vary. Always refer to the manufacturer’s guidelines for the best practices when using and caring for your alcohol markers.
You may also like...
-

Understanding Different Types of Pastels and How to Use Them
Pastels are a wonderful medium for creating art that has a unique texture and feel. There... -

What is a non photo blue pencil? Why use it?
Today we’re going to be talking about what’s so special about non-photo blue pencils, what is... -

Retouch Varnish Demystified: Essential Tips and Techniques
Are you looking to enhance the vibrancy and longevity of your artwork? If so, you’ve come...