

Category: How To Techniques & Materials
Find great articles, content and more to enhance your art. Learn how to use certain media, create more art and get tips and tutorials on art supplies, framing, painting, drawing and more.
Improve your art skills and knowledge with our How To tutorials and guide to creating better art.
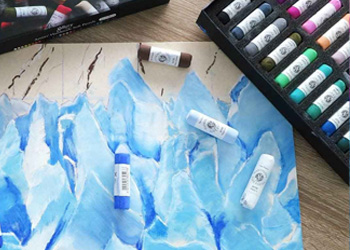
Understanding Different Types of Pastels and How to Use Them
Pastels are a wonderful medium for creating art that has a unique texture and feel. There are many different types of pastels to choose from, each with their own characteristics. In this article, we’ll explore the different types of pastels available and how to use them to create beautiful art. Soft Pastels Soft pastels are…..
Michael Marchetta -- 11/04/2024
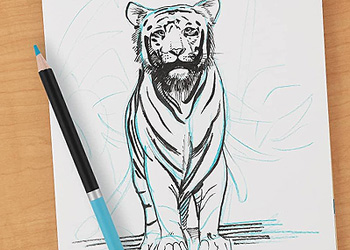
What is a non photo blue pencil? Why use it?
Today we’re going to be talking about what’s so special about non-photo blue pencils, what is and why use it. Featuring: Cezanne non-photo blue pencils Article has a video and images What is a non photo blue pencil? Why use it? What makes this pencil unique is that it was specifically created for sketching before…..
Jerry's -- 21/03/2024
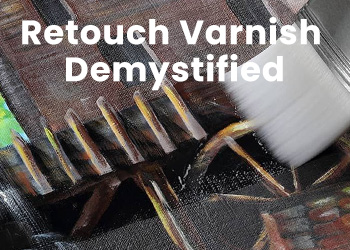
Retouch Varnish Demystified: Essential Tips and Techniques
Are you looking to enhance the vibrancy and longevity of your artwork? If so, you’ve come to the right place. In this blog, we’ll demystify the world of retouch varnish and provide you with essential tips and techniques to take your artistic creations to new heights. What is Retouch Varnish? Retouch varnish is a crucial…..
Michael Marchetta -- 12/09/2023
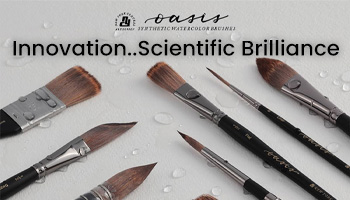
Innovation & The Technology Behind Oasis Synthetic Watercolor Brushes
A brush unlike anything you’ve seen before Hey there, fellow artists! Today, we’re taking a closer look at what makes Oasis Synthetic Watercolor Brushes stand out from traditional watercolor brushes. (Videos and more information seen below) Innovation: Designed and optimized with advanced 3D imaging tech! At the heart of Oasis Brushes lies a commitment to…..
Michael Marchetta -- 22/08/2023
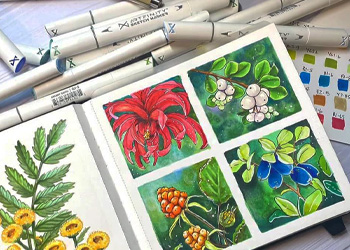
Level Up Your Art with Alcohol Markers: Pro Tips for Professional Results
Alcohol Markers are beloved by artists for their vibrant colors and ability to achieve professional-quality results. Whether you’re a beginner or an experienced artist, this article will provide you with essential techniques, pro tips, and inspiration to enhance your alcohol marker artistry. Understanding Alcohol Markers: Alcohol markers are an exceptional art tool that offers unique…..
Jerry's -- 21/06/2023
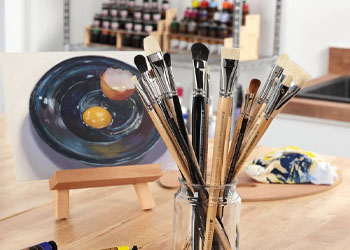
Synthetic vs. Natural Brushes for Oil Painting
Exploring the Differences: Synthetic vs. Natural Brushes for Oil Painting As a painter, you know how important fine art brushes are in achieving the desired effects in your artwork. However, with so many options available in the market, it can be difficult to decide between synthetic and natural hair brushes. In this blog article, we’ll…..
Jerry's -- 02/06/2023
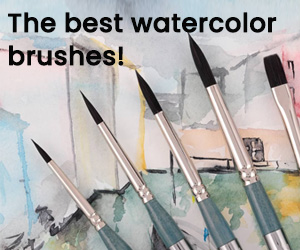
The Best Watercolor Brushes
Exploring the best brushes, shapes and uses for watercolor painting: Unleashing Your Creative Potential Selecting the right watercolor brushes is crucial Watercolor painting is a captivating art form that allows artists to create mesmerizing works of art with delicate washes, subtle blending, and vibrant colors. To truly bring your watercolor paintings to life, selecting the…..
Jerry's -- 19/05/2023
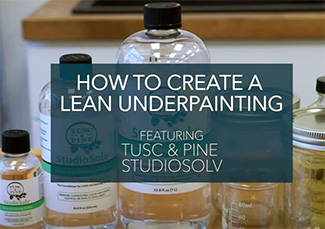
Creating a Lean Underpainting for Your Oil Painting
You all know the rule – Fat over Lean – but how do you start an oil painting abiding by this rule? A lean underpainting is an essential technique in oil painting that involves applying a thin, transparent layer of paint to establish the basic structure and values of your artwork. This initial layer serves…..
Michael Marchetta -- 06/01/2023
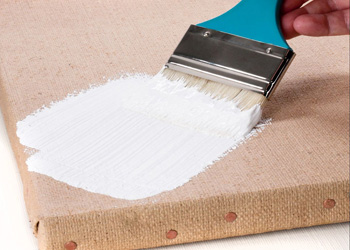
How To Gesso A Canvas or Board for Painting
How to prime your own canvas and board for painting! Have you ever found the perfect painting surface — be it canvas, paper, panel, board, or even a wall– but it is bare and unprimed? Never fear! Gessoing a canvas or priming a board is an easy task to do yourself, and you wind…..
Jerry's -- 02/03/2022
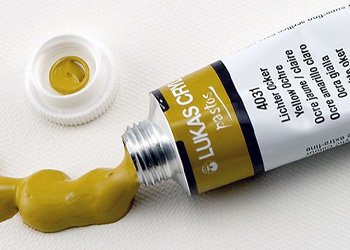
Buildup incredibly thick, multi-layered impasto style acrylic paintings
LUKAS CRYL Pastos Heavy Body Artist Acrylics: The Thicker, Heavier Impasto, Dries Fast (reliably in 15 minutes) to Work Quickly! LUKAS CRYL Heavy Body Pastos is a professional heavy body acrylic paint that uses only the finest pigments in full concentration and has proprietary properties for allowing incredible impasto impressions. Uniquely dries from the inside…..
Jerry's -- 27/12/2021

How to Varnish Your Oil Paintings
Varnishing Oil Paintings Let’s talk Varnishing! Jerry’s LIVE crew are going to go over everything you need to know when it comes to varnishing your artwork, specifically oil paintings. What are the best practices.. apply the first varnish, dust free area, which brush is best to use. Varnishing Oil Paintings ; Dust and grime can…..
Jerry's -- 18/10/2021
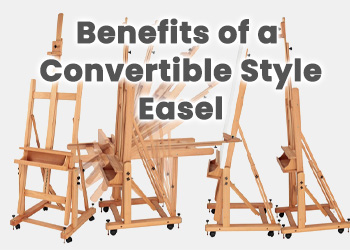
Why choose a convertible style easel and what are the benefits
There are many styles of easels for art and artists to choose from. There are many options from h-frame to a-frame, single mast to double mast, French style to pochade boxes but what about a convertible or multi-angle easel? In this article we will explain the unique attributes of these types of easels and the…..
Jerry's -- 12/02/2020
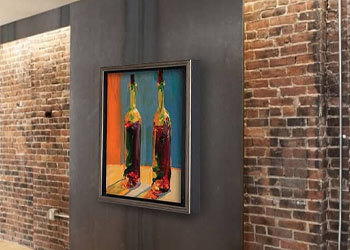
How To Price Your Art To Sell
I’m in the dark as to how to price On one of our several nationwide art marketing forums recently, the question posed was,“Theresa, I’m in the dark as to how to price the pet portraits. I don’t know anyone around here who does pet portraits to see what they are charging. After you figure the…..
Jerry's -- 18/07/2019
Palette Knife Painting: Unique Techniques & Tips
Incorporating palette knives into your artwork can help infuse it with a unique brand of expressiveness. Before anything else however you must choose one whose shape and size cater suitably towards achieving specific effects desired by you. Would you like to imbibe your painting with a sculptural quality, but not quite sure how? Are you…..
Jerry's -- 21/03/2019

Basic Watercolor Skills Demo-Creating a Small Landscape
Jerry’s LIVE Episode #94 – Basic Watercolor Skills Demo- Creating a Small Landscape Using Watercolor Supplies Featuring: Turner Professional Watercolors Basic Watercolor Skills Demo – Take just the basic supplies needed to paint in watercolor: paint, paper, brushes, and a palette… and watch this basic watercolor LIVE demo of a small landscape! This event will…..